
Do you ever worry about the safety of your computer? Testing and tagging a laptop is crucial to ensure its electrical safety. Imagine this scenario: you have just purchased a new computer for your home office. Knowing how to test and tag it appropriately is essential to protect yourself and your investment. This guide will walk you through testing and ordering a computer, providing the necessary steps and equipment. By following these instructions, you can have peace of mind knowing that your computer is safe to use and free from any potential electrical hazards. Let’s get started!
Importance of Testing and Tagging
To ensure the safety and compliance of your computer, it’s essential to understand the importance of testing and tagging its components. Testing and tagging is a process that involves inspecting and assessing the electrical safety of various computer parts, such as cables, power supplies, and monitors. By conducting regular tests and tagging, you can identify potential faults or hazards and take appropriate measures to rectify them. This helps prevent accidents like electric shocks or fires and ensures your computer complies with safety regulations.
Testing and tagging also play a crucial role in maintaining the performance and longevity of your computer. By regularly testing the components, you can identify any issues affecting their functionality, such as damaged cables or faulty power supplies. Addressing these issues promptly can prevent further damage to your computer and extend its lifespan.
Moreover, testing and tagging are particularly important for businesses and workplaces with multiple computers. Compliance with safety regulations protects employees and visitors and reduces the risk of legal liabilities for the organization.
Tools and Equipment Needed
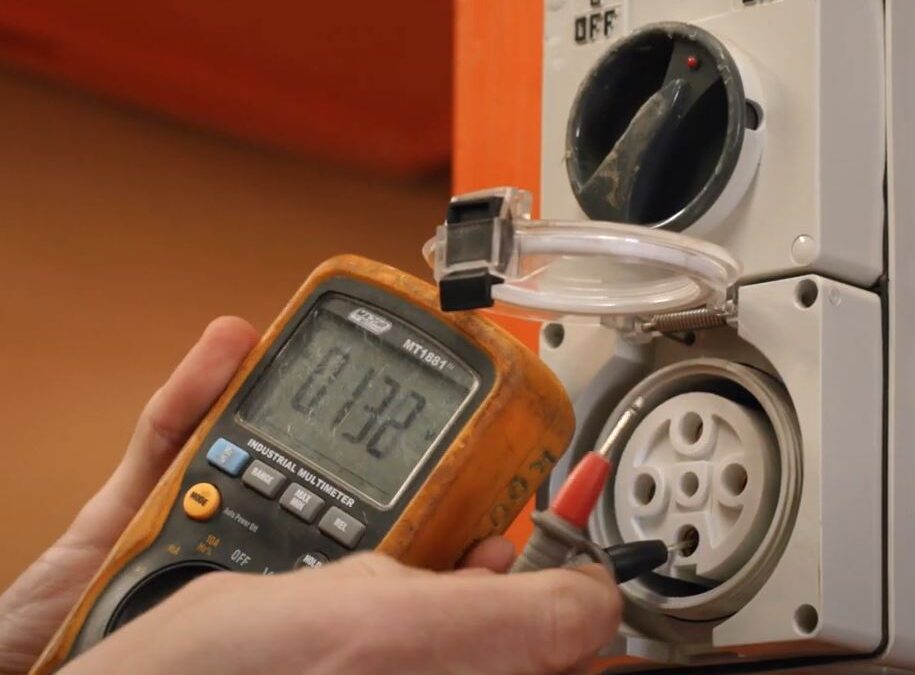
You will need specific tools and equipment to test and tag a computer. These tools are essential for ensuring the safety and compliance of the computer equipment. One of the most essential tools you will need is a portable appliance tester (PAT). This device tests the electrical safety of the computer and its peripherals. It can check for faults such as insulation resistance, earth continuity, and polarity. Another tool you will need is a digital multimeter. This tool is used to measure voltage, current, and resistance. It can help you identify any electrical issues that may be present in the computer.
Additionally, you will need a tag printer and tags. The tag printer prints tags containing important information, such as the test date, the tester’s name, and the next test due date. These tags are then attached to the computer to indicate that it has been tested and tagged. Lastly, you will need a visual inspection tool like a flashlight to inspect the computer for any visible damage or defects. With these tools and equipment, you can effectively test and tag a computer.
Step-by-Step Guide to Test and Tag a Computer
Begin by gathering all the necessary tools and equipment for testing and tagging a computer. This step-by-step guide will walk you through the process. First, ensure you have a portable appliance tester (PAT) suitable for testing computers. You will also need a power cord, a tag printer, and a dispenser. Also, have a personal protective equipment (PPE) kit ready, including safety glasses, gloves, and a high-visibility vest.
Once you have all the tools and equipment, start by preparing the computer for testing. Turn off the computer and unplug it from the power source. Remove any cables or accessories attached to the computer.
Next, attach the power cord to the PAT and plug it into a power outlet. Connect the other end of the power cord to the computer. Turn on the PAT and select the appropriate testing mode for computers.
Now, perform the electrical safety test by following the instructions on the PAT. The PAT will measure the electrical resistance and insulation of the computer. If any faults are detected, the PAT will display an error message.
After the electrical safety test, print a tag with the test result using the tag printer. Attach the tag to the computer using the tag dispenser. The tag should clearly indicate the test date, the test result, and the next test due date.
Finally, clean up the work area and properly store all the tools and equipment. Regularly check the test due date on the tagged computer and repeat the testing process when necessary.